Printing
Flipping the print over so it could be rolled up and placed in a tube for the trip to the framer.
I’m in the process of getting negatives drum scanned for a new body of work that will be comprised of a series of large-scale (at least 48″x48″) composited images. This will be the first time I’ve used photography and Photoshop in my work, which has primarily been sculpture.
I’ve been making photographs as a hobbyist for a long time, but until recently, Photoshop was mostly an application I used for minimal photo editing and turning designs into web pages. Tools like layer masks, layer adjustments, blending modes, brushes, and most of the other 8 million options were of no use to me. Now that my needs have changed, I’ve been going through a crash course on workflows and tools needed in photo compositing. This also involves getting used to a tablet, which is necessary (and so much easier) in this type of work.
The best technical information I’ve found has come from a video series named “Calvinize: Signature Techniques of Photoshop Artist Calvin Hollywood” (he also has some short tutorials on youtube). It’s mostly concerned with beauty retouching, but the technical information definitely applies to my project. Plus, with a great German accent, lively narration and a lot of skill, Mr. Calvin easily beats out the drones in the other series I’ve tried.
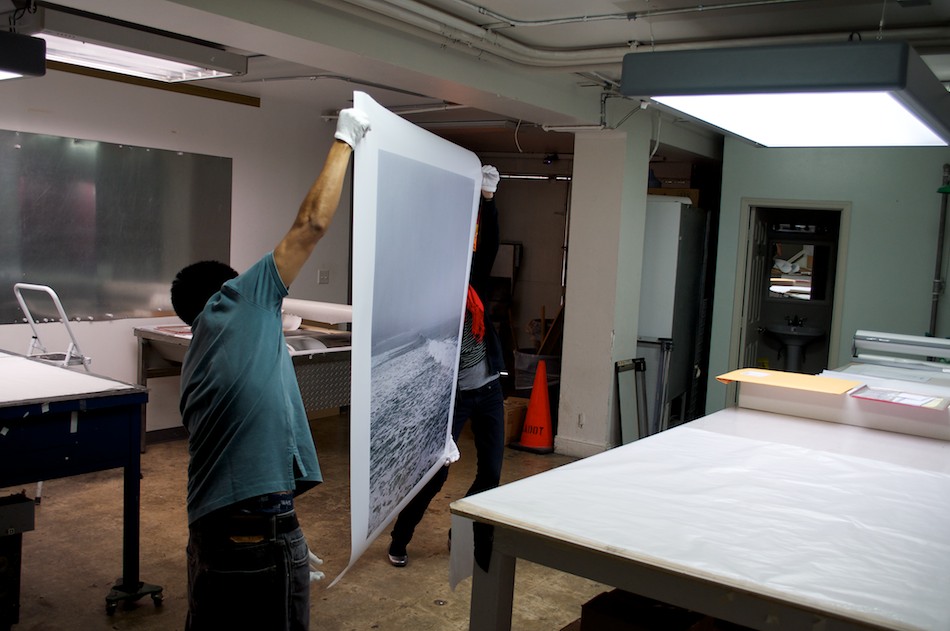
Since I have no experience with large-scale printing, I wanted to go through the process before printing anything from the series. I decided the perfect candidate was a photo of Sunset Beach on a glooming morning, one I’ve wanted to print since the first time I saw the proof sheet. If you’ve clicked on the image, you’ll immediately notice the terrible reproduction I was able to eek out of my flatbed scanner. While the scanner is on the low-end (Canoscan 8800F), it’s usually pretty good with most images, at least for the web. It turns out that the negative had some issues. After drum scanning it, the nice folks at The Icon told me it may have been mishandled at some point, either while loading the camera or unloading the finished roll. Makes sense, I was still getting used to loading a Hasselblad when I used it to shoot the photo a year ago. Luckily their scan was nowhere near as screwed as mine and they were skillfully able to work out the issues.
So yesterday, after a few interesting and informative proofing visits earlier in the process, I picked up the print and dropped it off at the framer. It was definitely more stressful than I’d have guessed. Transporting anything I’ve spent so much time and money on is always stressful (including cats). And my imagination made sure I’d think about all the mishaps possible in a short drive across LA. Elizabeth helped to keep things in check, though.
The print looks great and I can’t wait to get it back from the framer and on the wall (3 weeks, as they’re crazy busy). More importantly, I now understand the process, as well as what to expect in the final output, something I’ve needed in order to feel comfortable enough to keep moving forward.
very interesting. I’ve only every printed from digital, and was shocked the first time I went to the printer…I was amazed by just how many different variables impact the way a print can come out. In a way, you can view it as a form of artistic expression in itself. What you have on your screen, even though it is colour corrected, is most often nothing like what comes out on print. The trial and error is fun!!